 Anyone who has been in the gluten free any period of time knows that gluten-free sandwich bread is the proverbial unicorn. Perhaps I should say, simple gluten-free bread is the proverbial unicorn. Most gluten-free bread have about 500 ingredients. Well okay, not really 500, but let's be honest, there's a lot and most of them are not something you could produce in your own kitchen. I've been at this gluten free bread game a long time. I have young children and one of my favorite memories of my childhood are sandwiches. Sandwiches made by Grammy, loaded with peanut butter and raspberry jam. Grilled cheese. Tomato and cheese sandwiches. Ham and cheese sandwiches. Salami sandwiches. Oh the sandwiches! In high school I always went to the sandwich lunch line...I loved sandwiches. I wanted my kids to have that. But we are gluten free...and have been for nearly 6 years. The other issue I had was a lot of the gluten free ingredients I didn't consider "real food" mostly because I couldn't produce them in my own kitchen. Xanthan gum? Tapioca starch? Potato starch? Can I make these in my kitchen, no. Now you don't know me, but I'm a real foodie. I love real foods and have been trying to figure out how to make gluten free bread from whole foods (albeit ground into flours) in my kitchen for some time. Years if we are being honest. And while I have no problem with the other gluten free ingredients, it just wasn't ever for me. I also have a lot of food intolerances personally, and that drives my real food desire. There just had to be a way to make bread without gluten and without all that other stuff too... Please?! So I've been trying all sorts of things. For a good chunk of time I focused most, if not all, my time and energy on sourdough. And I must say, that produced a darn good product but it didn't rise like I wanted it to. I had a lot of goals to hit my ideal gluten free bread...basically I wanted it to be just like the bread of my childhood...no big deal right. I only wanted a gluten free bread that was:
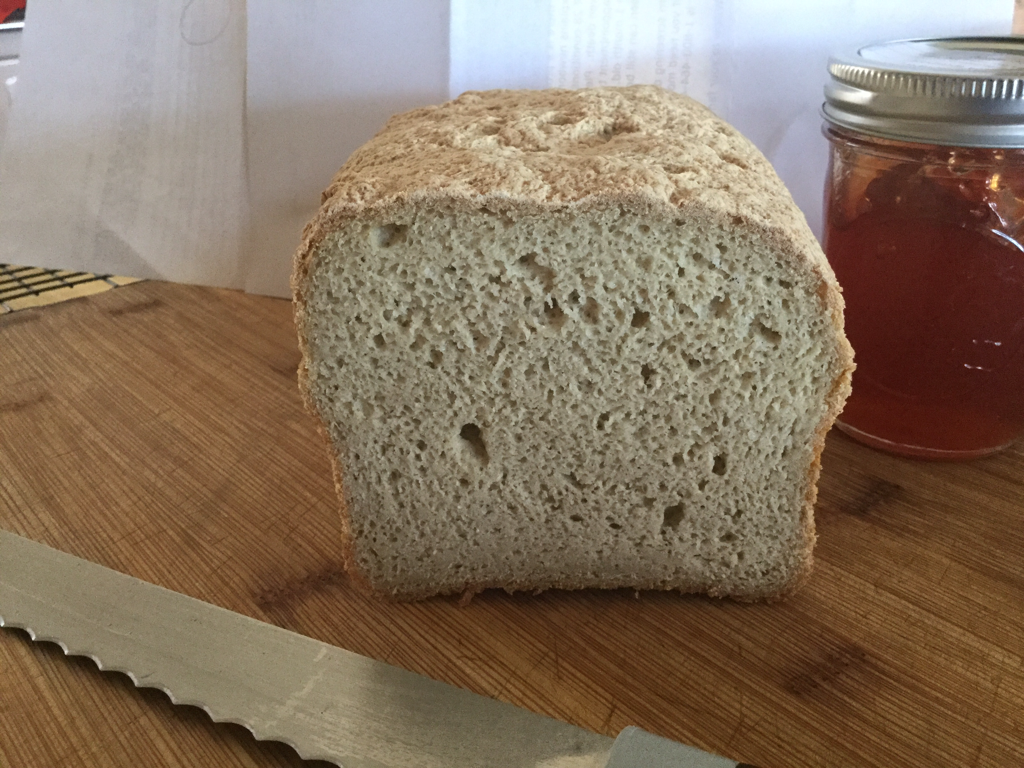
Well, I'm also stubborn, tenacious and don't give up real easy. The result, the bread you see in the picture above. The breakthrough point, a little invention called Aquafaba (AF). This was a game changer for me. I had figured out already that I could use glutinous rice in the place of gluten free starches (sweet white rice). I had already played around with whole psyllium a good bit and knew I could use that as a binder (I used it exclusively in my sourdough and all my other baked goods). I knew I could mix apple sauce and palm shortening to replace butter (the ratio is always tricky but it's possible). I had all this stuff I knew and I enjoy a challenge so when AF hit my radar, I started trying recipes again. This particular recipe is based off King Arthur Flour's Gluten Free Sandwich Bread. So thank you KAF for a good base to start with! Even though I have my own little baking business, I have decided to give this one away. It's just such a game changer for me and my family and I didn't figure it out all by myself. I hope you enjoy it as much my family does! This is a moist bread though, it is not "dry" like gluten based breads on the inside. Gluten Free Sandwich Bread - Allergen Friendly 150 grams Sweet Rice Flour aka glutinous rice flour (other starch will likely work, but I haven't tried them)
318 grams Sorghum flour (or gf flour bend of choice) 1.25 tsp salt 40 g Whole Psyllium 130 g Aquafaba (3 eggs if you can do eggs) 38 g apple sauce 20 g Palm Shortening 500 g Warm water (110 degrees Fahrenheit) 3 T sugar 2.5 t Active Dry Yeast 1. Mix water, sugar and active dry yeast together and allow to sit for 10 or so minutes while you prepare everything else. 2. In standing mixer, combine all other ingredients using paddle. 3. Add water mixture slowly and mix for 2-3 minutes. 4. Allow to rise for 2-3 hours. 5. Shape and put in greased loaf pan for second rise. 6. Proof your preferred way, allow to rise until the outside of the loaf is within 1/2 inch of the rim of the pan. While it's doing the second rise, preheat oven to 375°F. 7. Bake for 1 hour 15 minutes or until internal temp is 205°F 8. Allow to cool completely. If you want to eat it warm it will dry out a little quicker. Cut into when it's hot at your own risk. Note: I bake my bread in a propane stove, in glass (Pyrex) loaf pans. I use filtered water. The AF I use is home made from chickpeas that were soaked then cooked in instant pot. My flours are bakery flours I buy in bulk and fine ground. My sugar is organic dehydrated cane juice. Humidity/room temperature etc will all change proofing times and possibly baking times. I have not done this in a bread machine, but I would mix outside the bread machine before putting in the machine and baking, it's a dense dough. I hope you and your family are able to enjoy this bread!
0 Comments
|
The Author
Hi there, Wysteria here. I will be writing as regularly as possible on behalf of my family and regarding our adventures in farming, food, health and things of the like. My interest range widely and my brain wanders far. Namaste. Archives
July 2016
Categories
All
|
 RSS Feed
